
Discover the vital role of finish schedule interior design in ensuring project success, coordinating vision, budget, and workflow effectively.


Most people assume a finish schedule is just a tidy shopping list, but the role of finish schedule interior design work relies on is far more strategic than that. It acts as the connective tissue between your designer’s vision, your contractor’s workflow, and your own budget expectations. When this document is incomplete or ignored, projects unravel in predictable ways: wrong tiles delivered, paint applied before electrical rough-in is confirmed, and costs spiralling past what anyone agreed to. This article unpacks what a finish schedule really is, why it matters so deeply, and how to use it effectively whether you are a seasoned designer or a first-time homeowner.
Table of Contents
- Key takeaways
- What an interior finish schedule actually contains
- Why finish schedules prevent costly mistakes
- How to create a finish schedule that actually works
- Sequencing and timing: the hidden logic of finish schedules
- Benefits of finish schedules for team communication
- My honest take on finish schedules
- Plan your renovation with the right support
- FAQ
Key takeaways
| Point | Details |
|---|---|
| More than a material list | A finish schedule is a coordination tool that links specifications, rooms, trades, and budgets in one document. |
| Precision prevents costly errors | Missing product details and quantities cause procurement mistakes, rework, and delays that add up fast. |
| Sequencing is everything | Finishes must be specified and ordered in the correct construction sequence to avoid expensive rework. |
| Collaboration improves with clarity | A centralised schedule keeps designers, contractors, and clients aligned and accountable throughout the project. |
| Renovation projects need finish keys | Complex remodels benefit from detailed finish keys or legends that supplement standard schedules. |
What an interior finish schedule actually contains
Think of a finish schedule as a centralised specification database covering every selected finish item: material type, product name, manufacturer, colour reference, quantity, installation notes, vendor contact, and budget allocation. Each entry is not a vague description but a precise specification that removes guesswork from every trade involved.
The document is typically organised by room or zone. So rather than listing “timber flooring” somewhere in a spreadsheet, a proper interior finish schedule entry would read something like: “Engineered oak, 190mm plank, natural oiled finish, manufacturer X, 28 square metres, master bedroom floor.” That specificity is what separates a functional schedule from a decorative document.
One of the most useful components is the tagging system. Tags on construction drawings link each finish entry to a specific location on the floor plan or elevation drawing. A tag might include a type code, finish description, manufacturer reference, and the precise location where that finish applies. This means a tiler on site can cross-reference the drawing tag against the schedule and know exactly which product goes where, without needing to call the designer.
Here is what a well-formed finish schedule entry typically looks like:
| Field | Example entry |
|---|---|
| Room or zone | Master bathroom |
| Material type | Wall tile |
| Product name | Calacatta marble effect ceramic |
| Manufacturer | Brand X |
| Colour or finish | Warm white gloss |
| Quantity | 14 sq m |
| Installation note | Horizontal brick bond, 3mm grout joint |
| Vendor contact | Supplier Y, contact number |
| Budget allocation | SGD 1,200 |
Pro Tip: Always include the vendor’s contact and lead time in your schedule. Knowing a tile takes six weeks to arrive changes your entire construction sequence.
Why finish schedules prevent costly mistakes
The importance of finish schedule accuracy becomes brutally clear the moment something goes wrong on site. Inaccurate or incomplete entries, such as a missing manufacturer reference or unspecified quantity, create a chain reaction. The contractor orders the nearest matching product, the quantity is wrong, and suddenly you are paying for rush delivery and replanning installation dates.
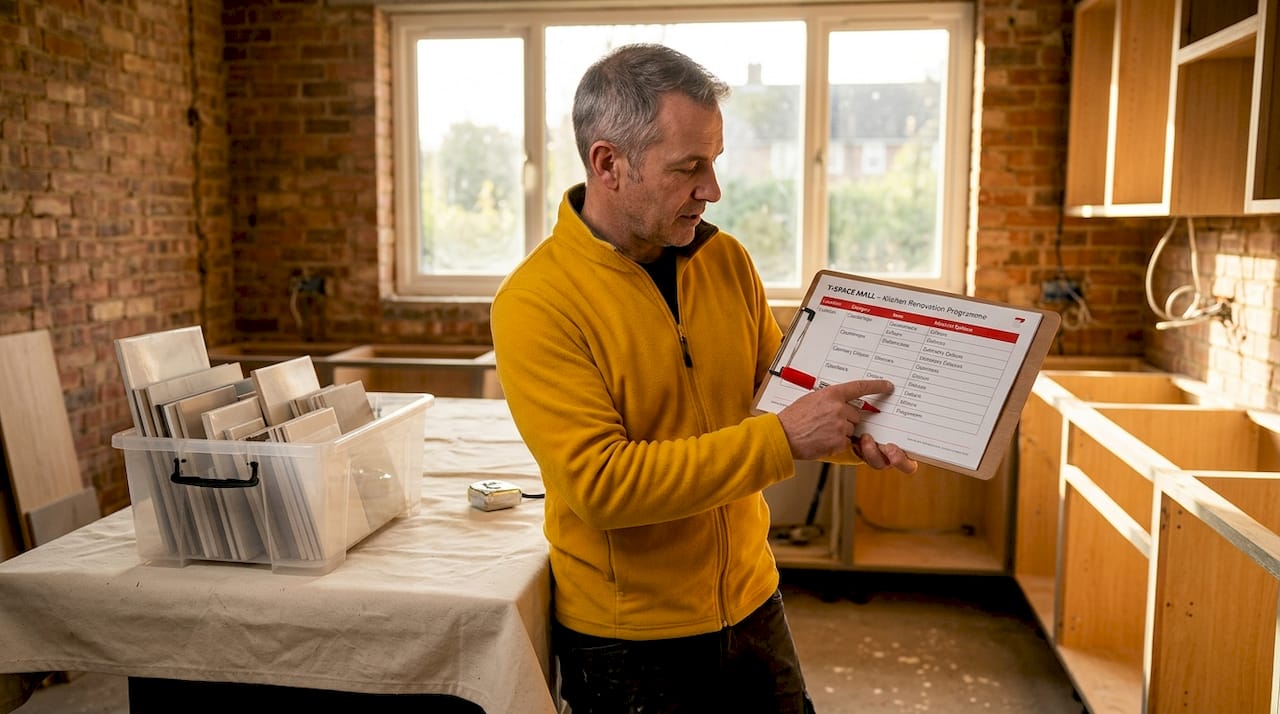
Material specifications within finish schedules significantly reduce decision-making ambiguity for installers. Without exact finish descriptions and room-by-room quantity assignments, installers fill in the blanks themselves. That guesswork produces change orders and inflated final costs.
Budget control is another area where the schedule earns its value. Finish schedules allow detailed budget tracking by linking costs to specific finish elements and rooms, so you can see immediately if your bathroom tile choice is eating into your kitchen flooring budget. This kind of granular visibility makes value engineering (the practice of substituting materials to hit a target cost without losing design intent) far easier to execute in real time.
A finish schedule that lacks room-specific cost breakdowns is just decoration. The real value lies in being able to look at line 14 and decide whether that imported stone is worth compromising line 22.
Consider a common pitfall: painting walls before the electrician has completed rough-in work. If the finish schedule is not sequenced correctly or shared with the right trades, a painter arrives, does the job, and then the electrician cuts the walls open again. That is two rounds of plastering, sanding, and painting, plus the labour cost and delay. Sequencing errors lead to costly rework and delays that are almost always avoidable.
How to create a finish schedule that actually works
Creating a reliable finish schedule is less about the format and more about the discipline of completeness. Whether you use a spreadsheet, a dedicated design platform, or a printed template, the logic remains the same.
-
Start with confirmed selections, not aspirational ones. Every entry in your schedule should represent a product you have sourced, priced, and confirmed. Placeholder entries like “TBC tile” create ambiguity downstream and can delay procurement decisions.
-
Assign every finish to a specific room and installation location. Do not just note “marble tile.” Note “marble tile, feature wall, dining room, behind built-in joinery.” The most critical finish schedule fields are those that remove interpretation risk on site: exact finish types, installation location specifics, and quantity consolidated by room or zone.
-
Tag your drawings. Cross-reference each schedule entry with a corresponding tag on your floor plans and elevations. This is what allows a tagging system on drawings to coordinate trades efficiently without constant designer intervention.
-
Build in sequencing logic. Order your entries to reflect the construction sequence, not just alphabetical room order. Finishes that need to be confirmed and ordered early (custom joinery, imported stone, bespoke fittings) should appear at the top of the priority list.
-
Track revisions. Date every change and note what was altered and why. A finish schedule without revision history becomes unreliable very quickly on a live project.
-
Use a finish key for renovations. In remodels, a finish key offers more detailed instructions than a standard schedule, using symbols and notes to clarify work in areas where existing conditions vary. This is particularly useful in Singapore’s older HDB and condominium units, where substrate conditions are rarely uniform.
Pro Tip: Colour-code your schedule by trade: tiling, painting, joinery, flooring. It takes ten minutes to set up and saves hours of confusion when multiple trades are working simultaneously.
Sequencing and timing: the hidden logic of finish schedules
The role of materials in design goes beyond aesthetics. Every material has a place in the construction sequence, and your finish schedule is the document that makes that sequence visible to everyone on the project.
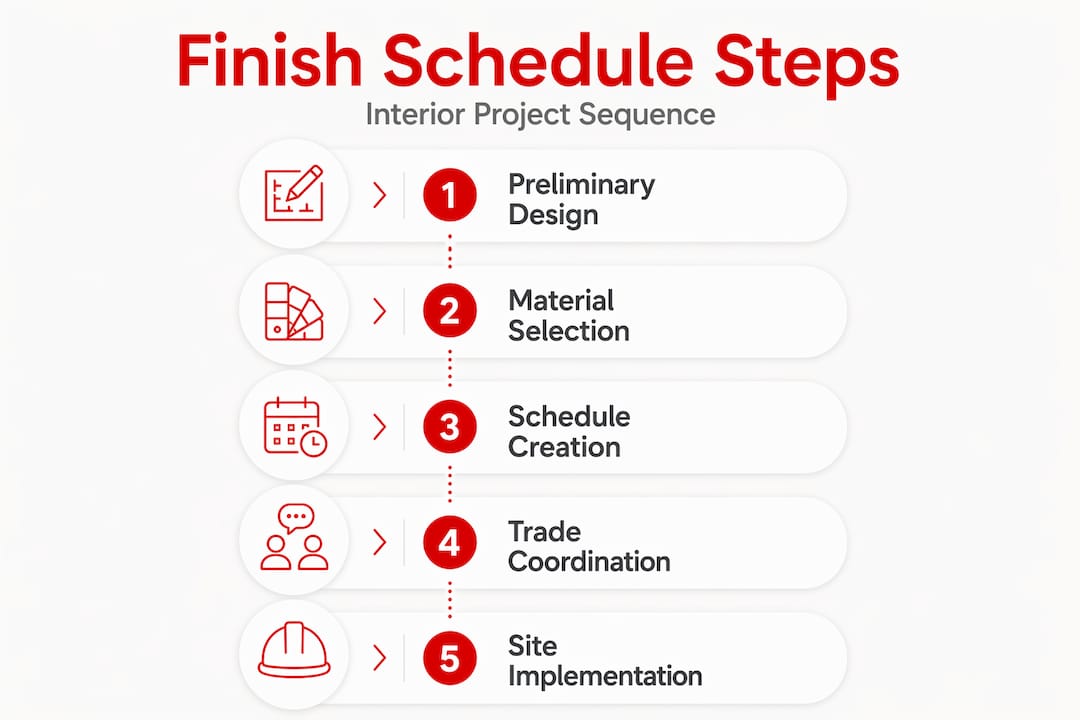
A standard interior renovation sequence for finishes typically runs like this: electrical rough-in and plumbing, drywall and plastering, ceiling work, painting, flooring, skirting and trim, then finish electrical (switch plates, light fittings, power points). If your finish schedule specifies the flooring before the painting is confirmed, or the trim profile before the flooring thickness is locked in, trades will make assumptions. Assumptions become mistakes.
| Mistake | Consequence |
|---|---|
| Painting before electrical rough-in is complete | Walls cut open again, replastering and repainting required |
| Flooring installed before plumbing confirmed | Floor pulled up to access pipe work |
| Timber trim ordered before flooring thickness confirmed | Profile misalignment, visible gap at skirting |
| Tiles ordered without lead time check | Project halted while waiting for delivery |
Lead times for manufacturing and custom fabrication affect when finishes can be incorporated, making finish schedules a critical planning tool rather than simply a reference document. Custom cabinetry might take eight to twelve weeks. Imported stone can take four to six weeks. If those items are not flagged and ordered at the right point in your schedule, the entire project waits.
Delays and cost overruns often result from late decision-making and out-of-sequence material specifications. Experienced designers with construction sequencing knowledge reduce expensive contractor delays precisely because they treat the finish schedule as a live operational document, not a static list produced at the start of a project.
Benefits of finish schedules for team communication
When multiple trades, suppliers, a designer, and a homeowner are all involved in one project, the potential for miscommunication is significant. A well-maintained finish schedule acts as a centralised reference document that maps tasks, dependencies, and responsibilities clearly for everyone involved.
The practical benefits for your project team include:
- Reduced on-site confusion. Trades can verify their scope against the schedule without needing to track down the designer for clarification.
- Clear accountability. When each finish item is assigned to a specific trade and room, there is no ambiguity about who is responsible for what.
- Faster decisions. A homeowner reviewing the schedule can spot a gap or a pending selection quickly, rather than discovering it mid-build when time pressure distorts judgement.
- Cost transparency. Linking each finish to its cost within the schedule gives clients real-time visibility over where the budget is going, which builds trust and reduces disputes.
- Fewer change orders. When contractors understand the full scope upfront, they price more accurately and are less likely to submit unexpected variations.
Understanding the client brief in interior design is where this process begins. The finish schedule is essentially the technical translation of that brief into something every trade can act on.
My honest take on finish schedules
I have watched projects come unstuck in ways that were entirely preventable. Not because the designer lacked talent or the contractor lacked skill, but because the finish schedule was treated as an afterthought, a document produced to tick a box rather than to guide a project.
The most common version of this I have seen: a schedule that lists finishes beautifully at the start of the project and is never updated again. By week six, the tile specified on page two has been discontinued, a different one is sourced, but nobody updates the document. The contractor is working from the old version. The client is approving the new version verbally. And then comes the invoice dispute.
What I have learned is that late-stage finishing tasks consume disproportionate project time. The finish schedule’s highest value is in preventing uncertainty from accumulating in the later stages of a build, when time pressure is greatest and the cost of mistakes is highest. Treat it as a living document, not a PDF filed away on completion of the design phase.
My advice to any homeowner starting a renovation: ask your designer to walk you through the finish schedule at every major milestone, not just at the beginning. When you understand what is confirmed, what is pending, and what is on order, you are genuinely in control of your project. That is not a luxury. It is how good projects get delivered.
— Jonathan
Plan your renovation with the right support

A finish schedule is only as good as the team behind it. At Tspacemall, the experts at T-Space Mall understand how much rides on getting this document right, from material selection and sequencing to budget tracking and trade coordination. Whether you are planning a new home build or refreshing an existing space, working with an experienced interior designer who treats the finish schedule as a living project tool makes all the difference. Explore the interior design and renovation services available at T-Space Mall, or browse the work of trusted providers like Absolook Interior Design to find a team that brings both design talent and construction expertise to your project. Your dream home deserves that combination.
FAQ
What is the role of a finish schedule in interior design?
A finish schedule is a centralised document that specifies every material, product, quantity, and installation detail for a project. It coordinates designers, contractors, and clients around a single reference, reducing errors and keeping the build on track.
How detailed should an interior finish schedule be?
Each entry should include the material type, product name, manufacturer, colour or finish, quantity, installation location, vendor contact, and budget allocation. The more specific the entry, the less room there is for costly on-site guesswork.
When should a finish schedule be created?
A finish schedule should be started once initial material selections are confirmed and updated continuously throughout the project. Treating it as a static document produced only at the design phase is one of the most common causes of renovation delays.
What is a finish key and when do you need one?
A finish key is a more detailed supplement to a standard finish schedule, using symbols and notes to address variations in existing conditions. It is particularly useful in renovation projects where substrate conditions differ from room to room.
How does a finish schedule help with budget control?
By linking each finish item to a specific cost and room, the schedule gives homeowners and designers real-time visibility over spending. This makes it straightforward to identify where savings can be made without compromising the overall design intent.
Recommended


